Léon’s Port Arthur Korps
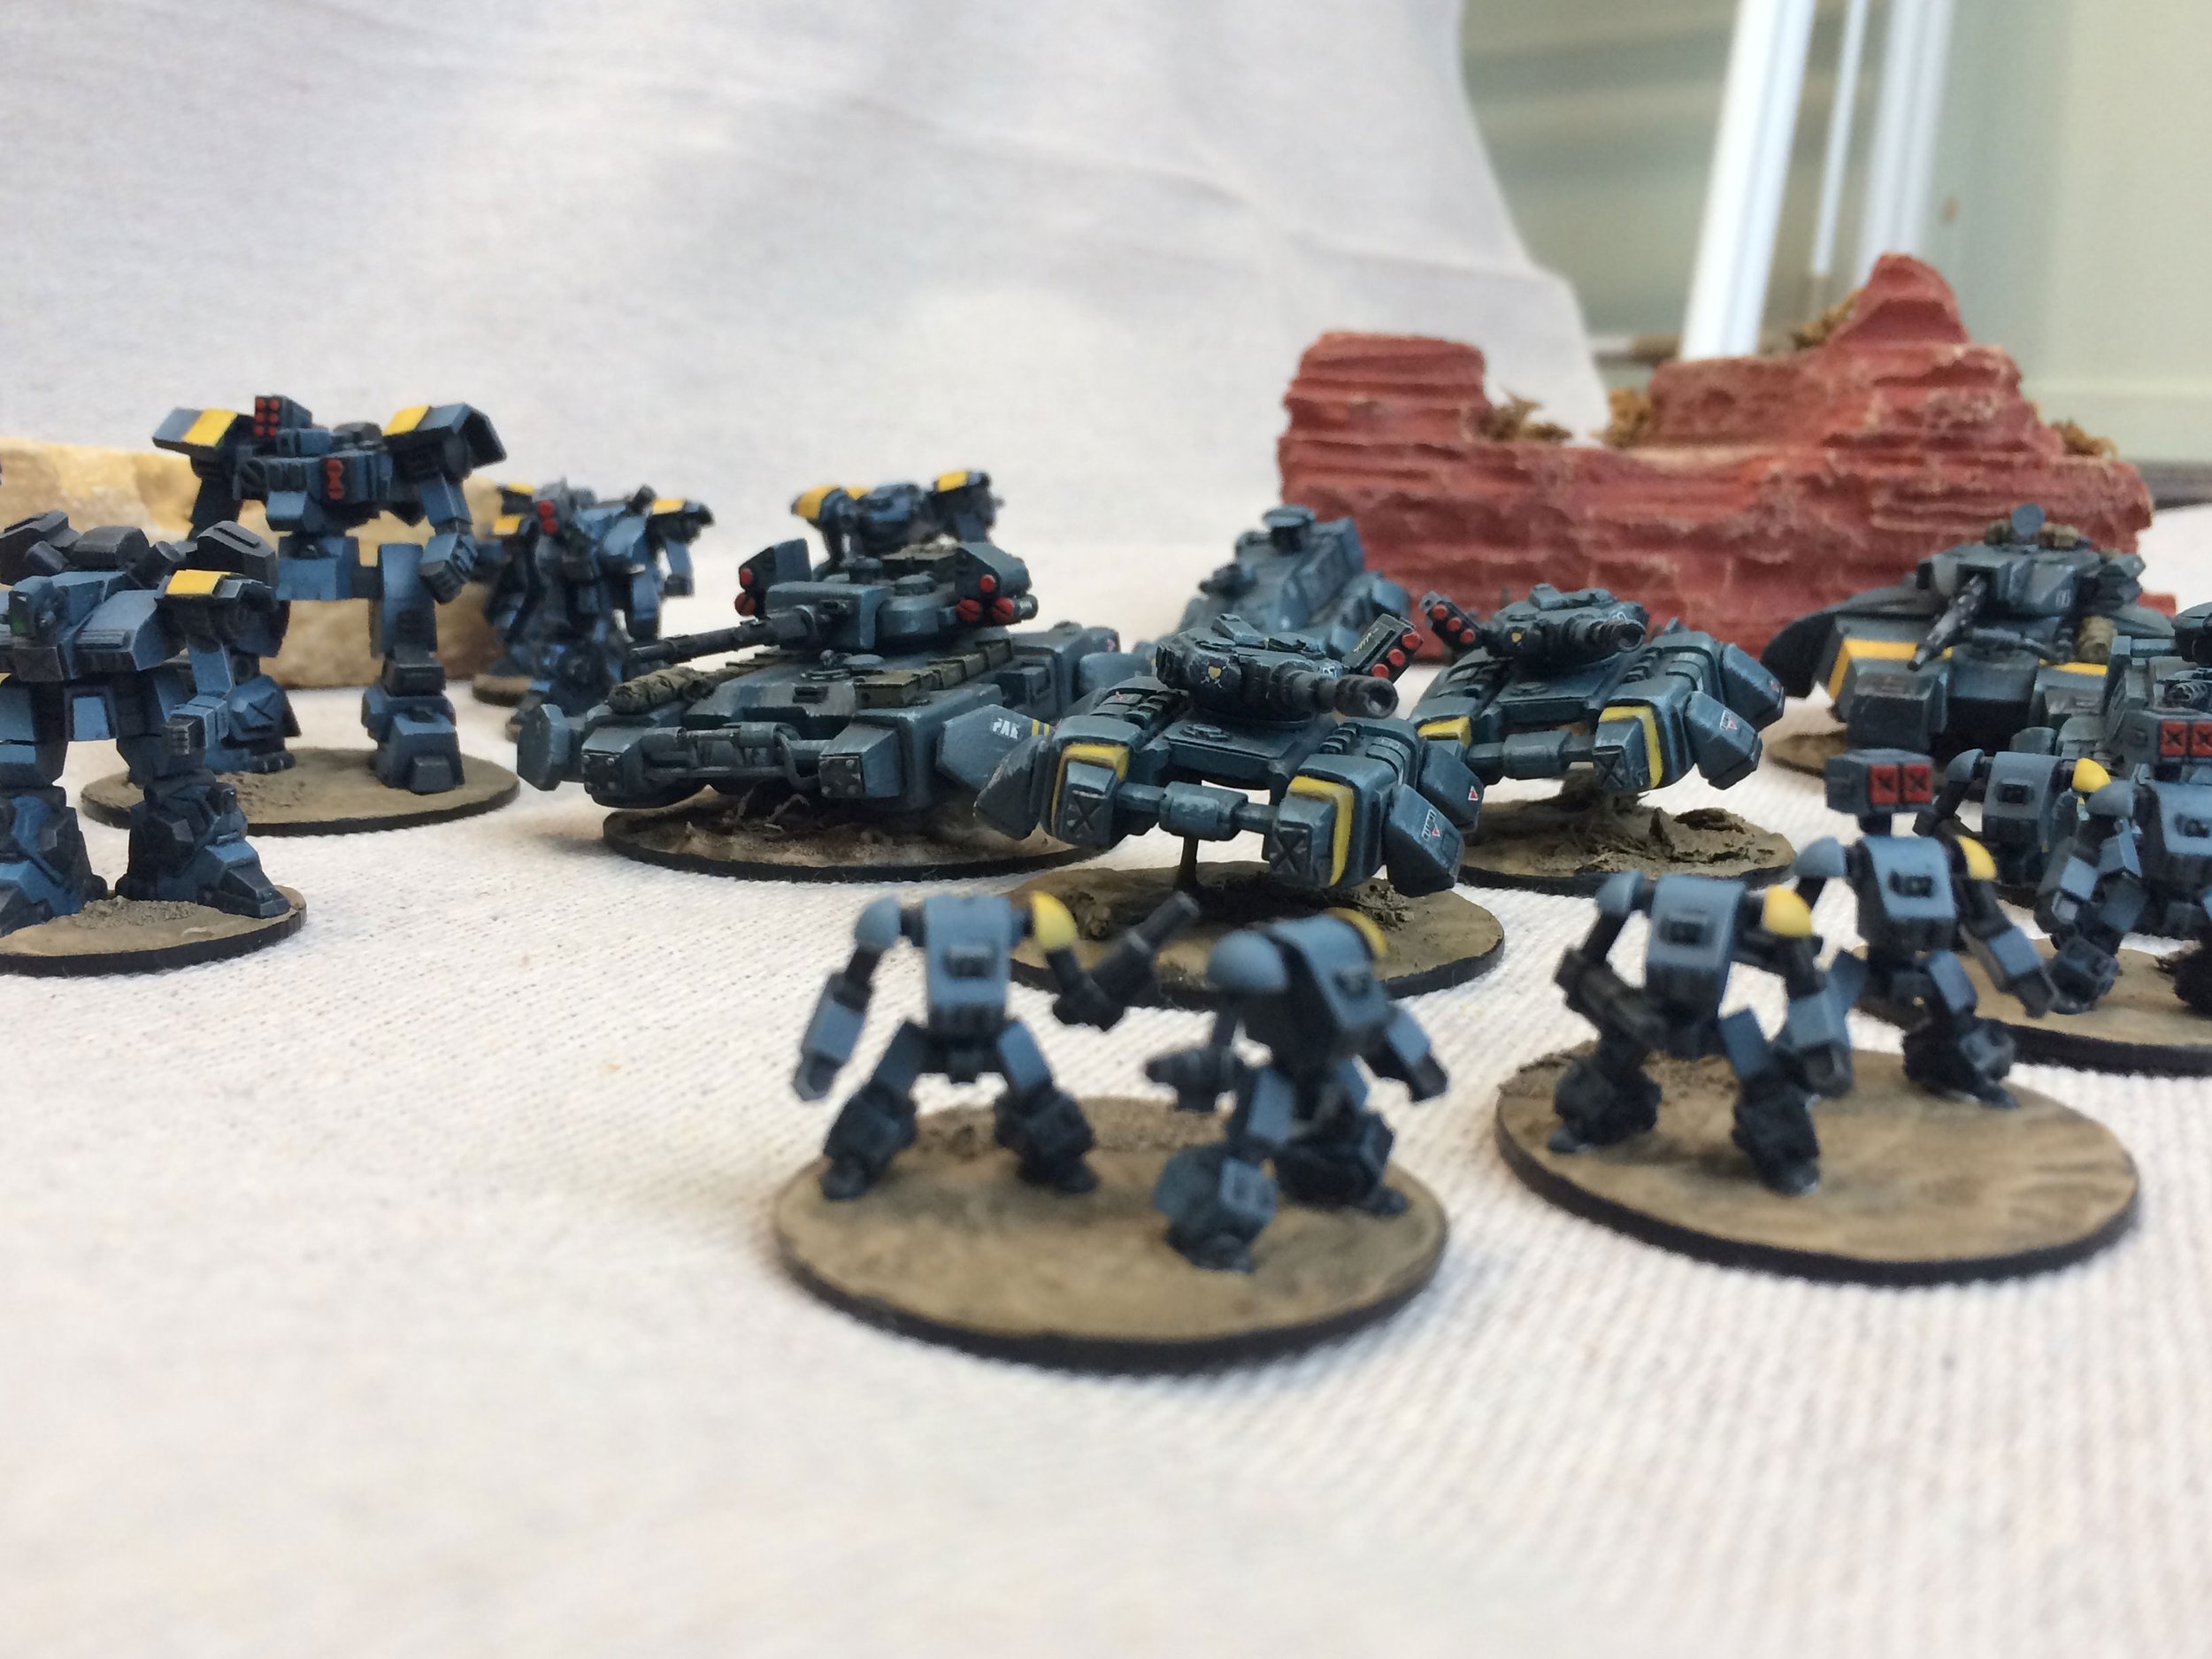
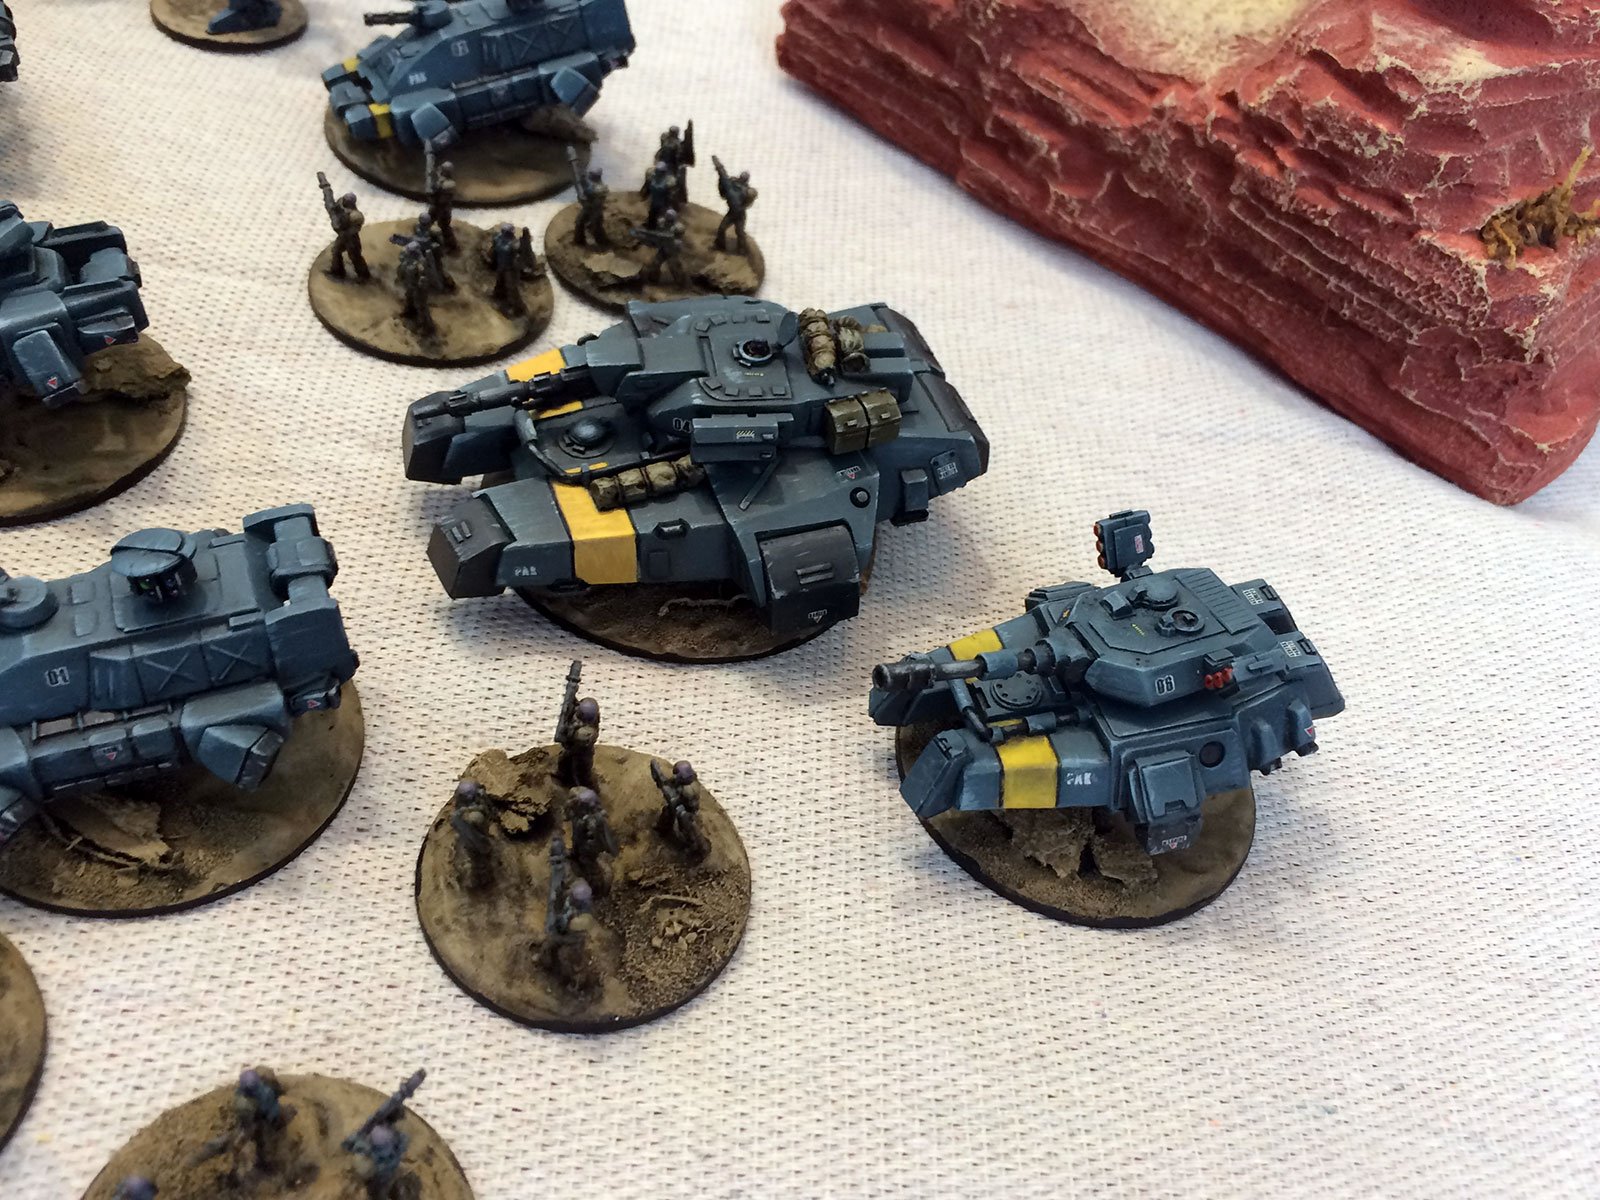
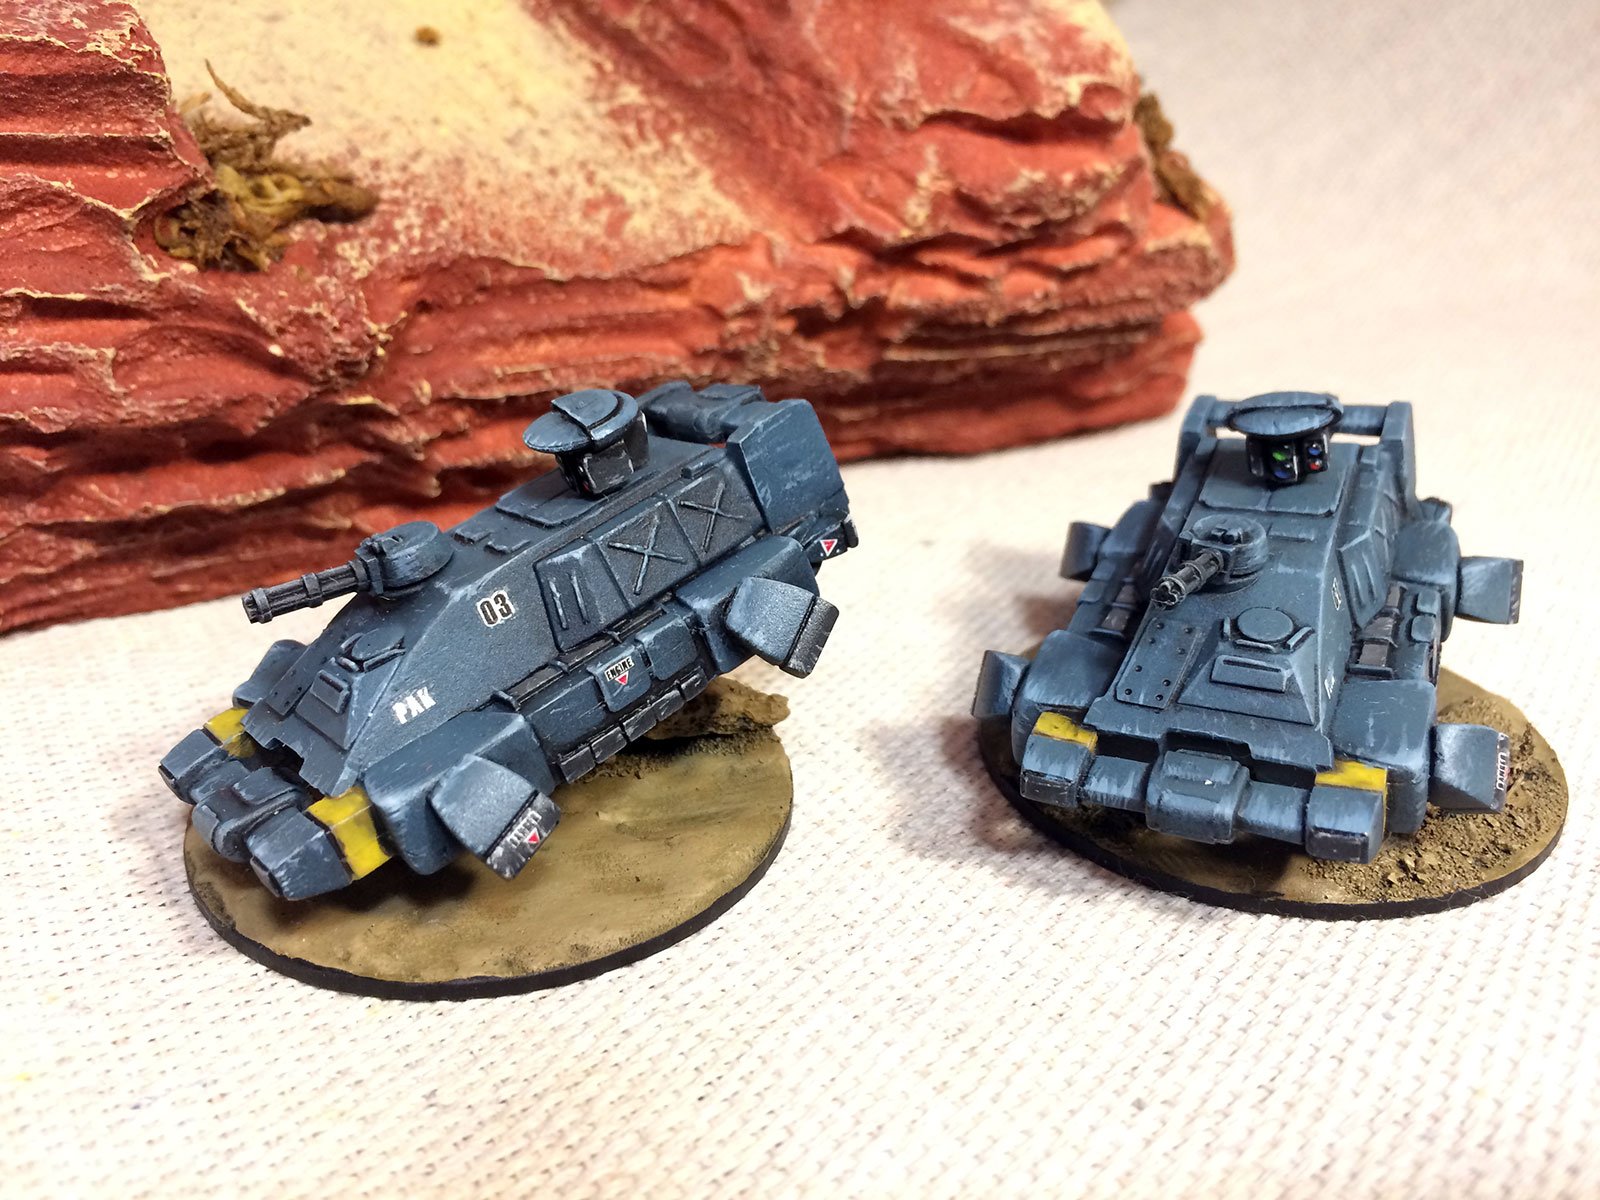
Today we’re featuring another army from the community. Léon (aka Part Time Commie) from the local community has sent us pictures of their fantastic looking Port Arthur Korps army (with a little CEF mixed in).
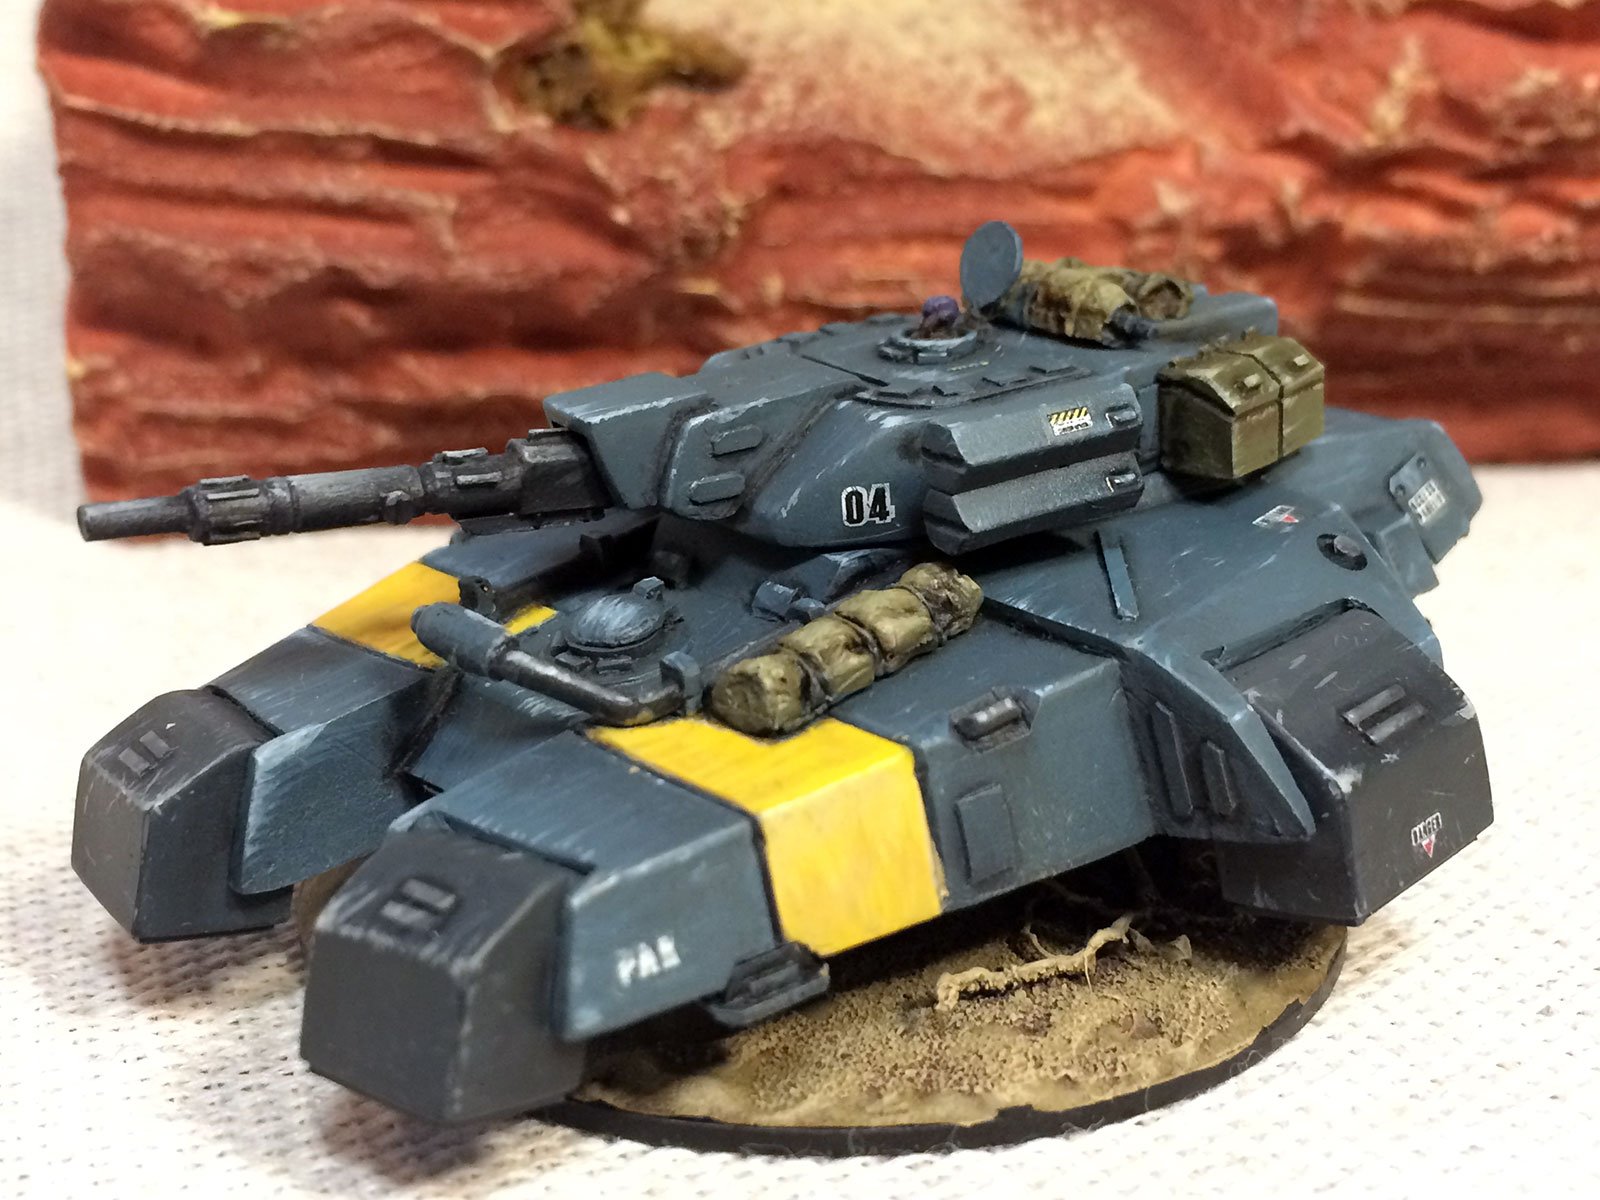
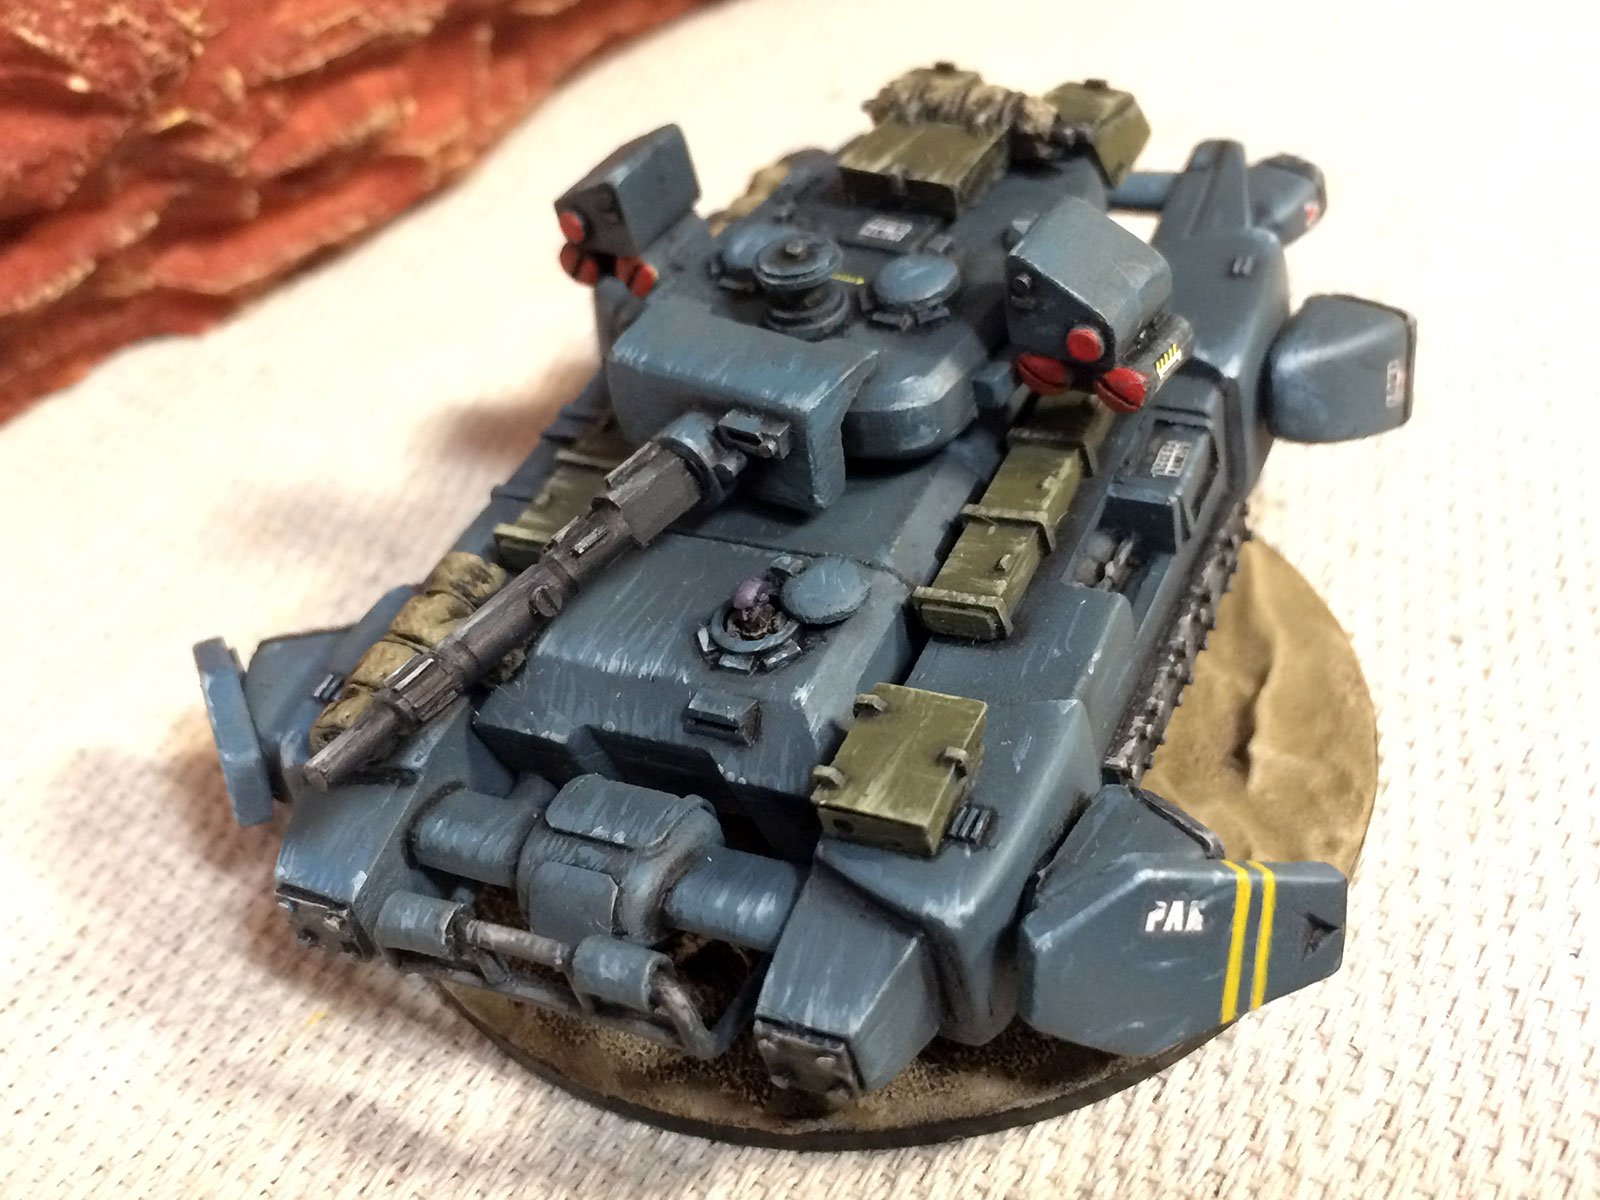
Here's my PAK armies, sometimes shamelessly used as CEF for narrative purposes, I decided to go with PAK because I really liked their tanks, especially the MHT-68 all hail the MHT-68, and their combined arms approach. I could have went with CEF but I found the narrative possibilities with PAK more interesting since you could do more with border politics than the big bad threat from outer-space. I also really liked the idea of those old tanks being maintained past their primes and supplemented with old gears they got for cheap. I have other armies from which I can pull models to put them in and maybe later I will paint gears in PAK colors and decals. I decided to go with something very standard for the color scheme as I had multiple armies I wanted to paint and wanted to be flexible in my narratives. It's not original but I really like that color scheme and it screams PAK/CEF when you look at it, at least to me!
Here's how I achieved this paintjob, it is pretty quick and easy. I ... pulls out note book used VMC flat blue with VMC clear orange to desaturate the blue and get a darker version of it. I then used some grey/white to bring it up or down in value. Slap that mix over a black primer with an airbrush and leave a bit of the black show through. Add a bit of white to your mix to bring the value up and create a bit of value shift over the model. For the yellow you want a light color underneath like white or a skin tone and then I applied VMC Deep yellow. For the black bits I just painted it with VMC Black Grey. To shade the recesses and create a bit more tone variation, I used a wash of oil paint, Winsor and Newton Coal Black. If I were to paint more PAK however, I would mix French Ultramarine with Burnt Umber or Burnt Sienna. Brown is actually orange which is the opposite of blue, so just like for the armor, it can create a very dark but still saturated color while also using transparent pigments to better tint the surface. Seriously though, when I discovered oil washes I felt like my whole hobby painting life had been a lie up to that point. It speeds up the process so much while giving a nice saturated and deep look. Check out Marco Frissoni on Youtube if you want to know more about it. Lastly I applied a lighter version of the colors as scratches to add a bit of detailing and depth with 2 levels of values. I would recommend using thick paint and a very sharp tip for this step which I find only natural bristles will have.
As a bonus: I found that paperclips make for very nice flight stands, they are sturdy and can bend instead of breaking. You also add magnets to the bottom of your models to stick to it. Bend them into the right shape for your model, put a generous amount of glue to stick on your base and cover with wall/joint compound.


