Converted with Intentional Omissions
This is a conversion and edit of the Heavy Gear Blitz! Plastic Miniatures Assembly Guide 2021. It will be modified to correct errors and add enhancements such as links to the Dream Pod 9 store for sprues and upgrade components.
The original document contained basic stat lines for the models shown. This information is considered outdated and will not be replicated here: please see the Heavy Gear Blitz! 3.1 rules, the Heavy Gear RPG 4th Edition rules, or other appropriate sources as necessary. Additionally some art and text not relevant to the goal of assembly have been removed.
The intention is to also add information for non-plastic models to help answer assembly questions. Please feel free to ask questions about models on our forums or similar and we’ll include the most common examples.
Guide Updates
- 9/20/2025: I have ‘collapsed’ most of the wildcards to make things easier. I could find no cases it which the same weapon could be used in multiple roles on the existing plastic sprues. For example, ‘*LC’ is changed to ‘LLC’ which is the actual weapon used on the design. In a few cases codes ahd changed from when the guide was initially written, such as the Deployable Pack Gun becoming an LSMG.
- 9/21/2025: Found a swapped pair of tags in the Southern Iguana list of components.
- 12/05/2025: A few minor typos in the Caprice section were fixed.
- 12/08/2025: First efforts at migration to the DP9 Community site as overall simplification.
CREDITS
Layout: Robert Dubois
Photos and Photo Editing: Robert Dubois
Miniature Painting: Philippe F. LeClerc, Jean-Denis Rondeau
HGB 3.0 Rules Developer: The Rooster
Conversion to Web: Brett Dixon
Assembly Basics
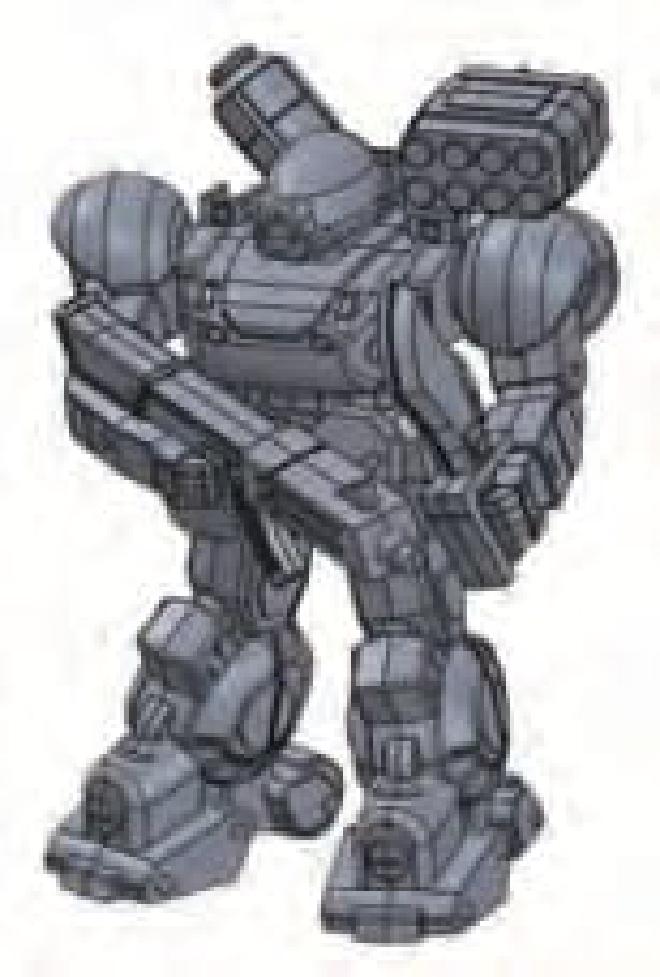
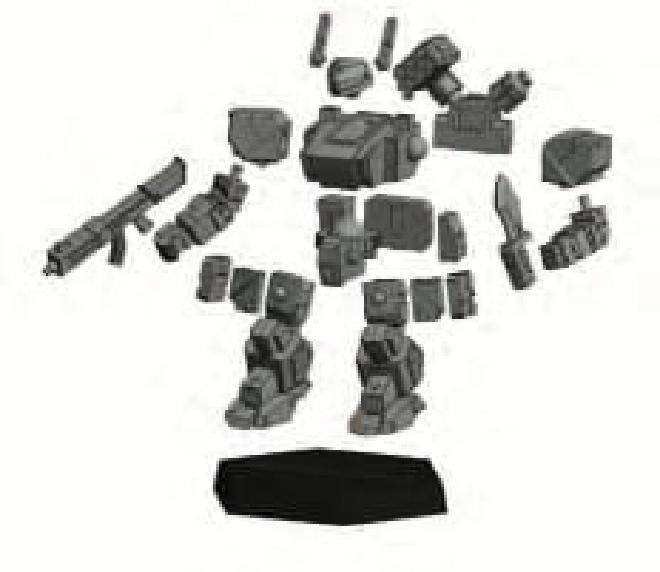
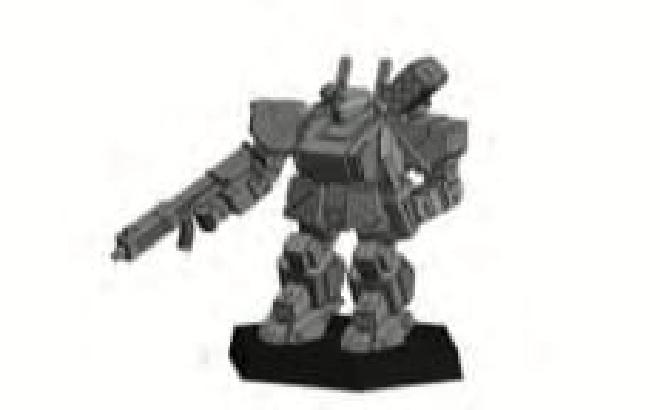
We’ll go over the basics of Heavy Gear miniature assembly for the new plastic miniatures on this page, with what tools and supplies you’ll need and safety tips to follow. We’ll use the Southern Jager Gear in an fast example of how on of the new plastic Gear models go together. Later in the guide we’ll go more in depth with each factions models and what weapons or special parts to select and where they go.
To Assemble Your Gears, Follow These Steps
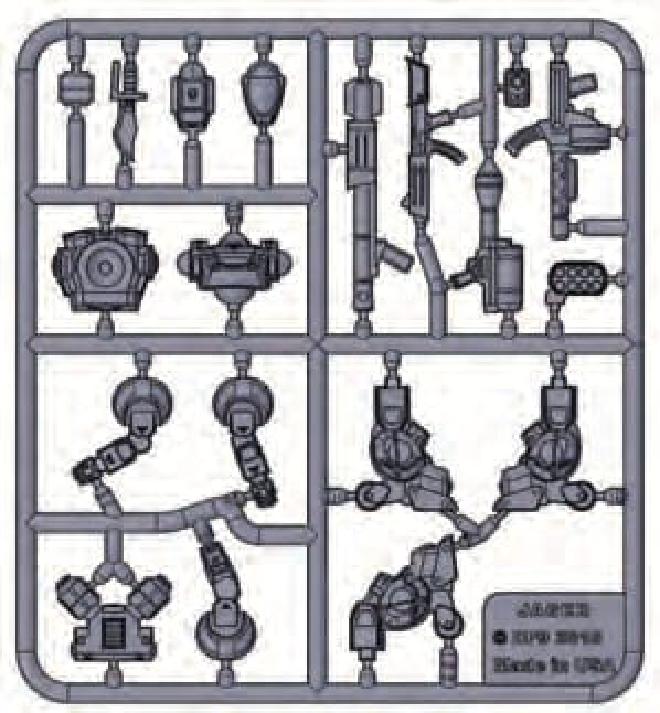
- Carefully remove the parts from the sprue with clippers for your first model.
- Use a fine grit hobby file or a hobby knife to trim any excess flash from parts.
- Assemble one model at a time to prevent mixing of parts.
- When gluing wait until glue is set before advancing to the next of the following gluing steps.
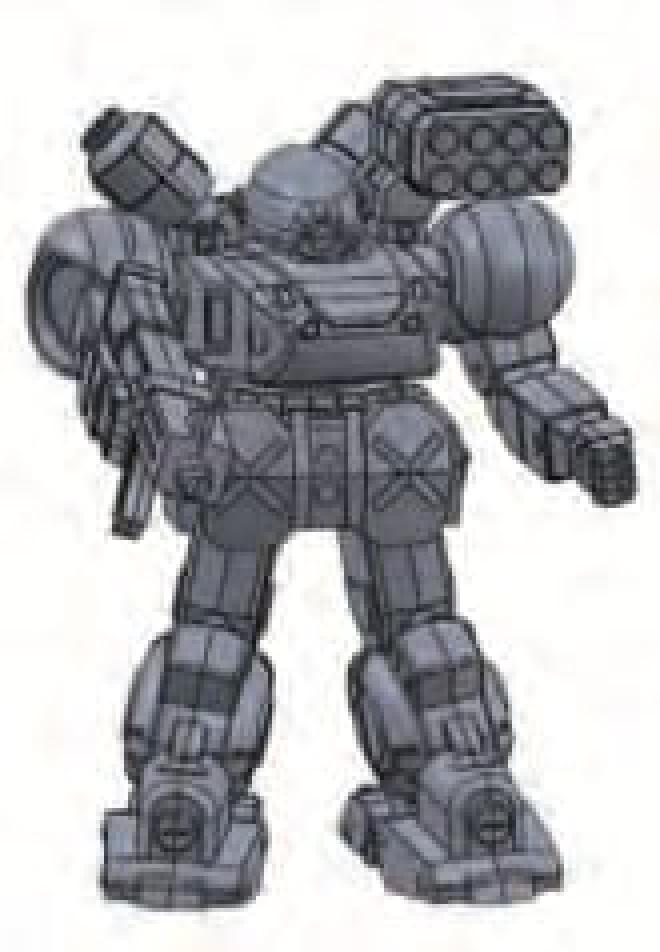
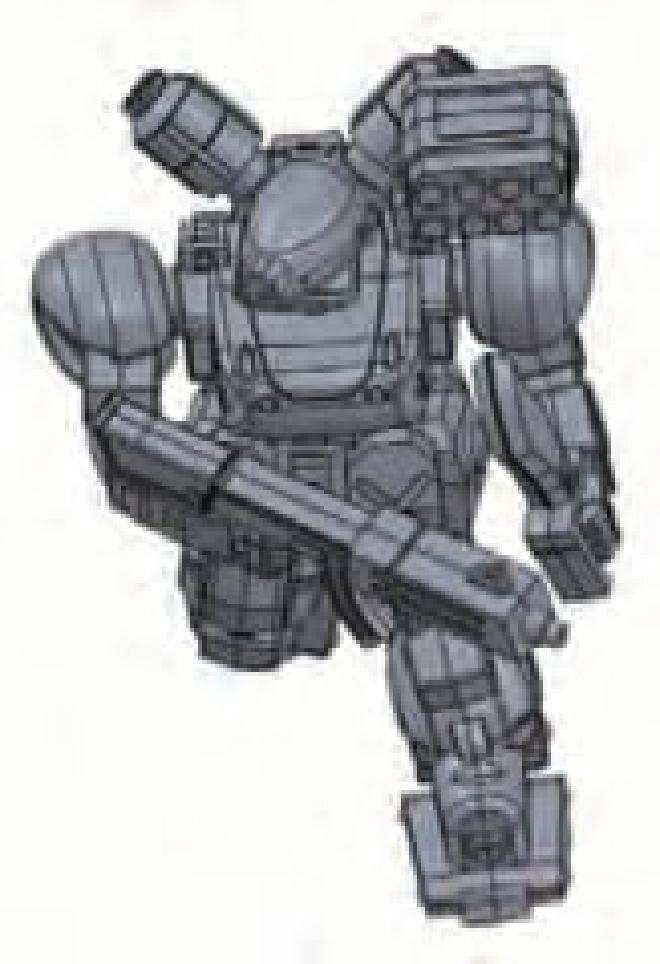
Steps for North & South Gears and CEF Battle Frames:
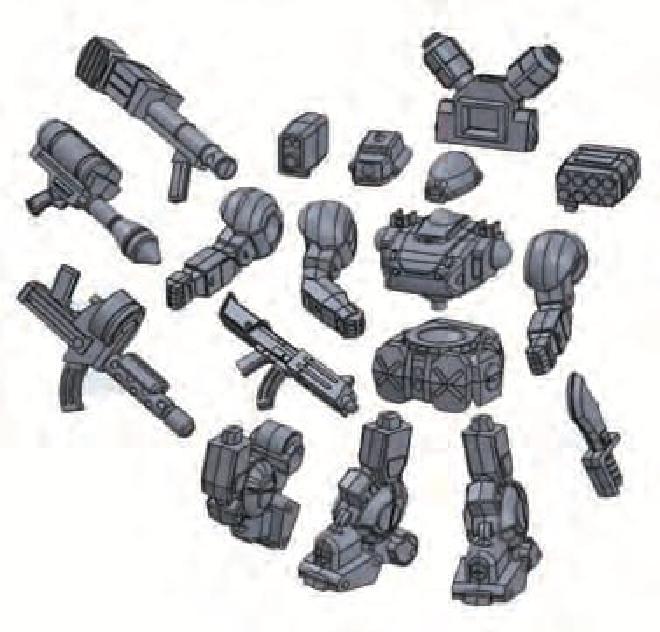
- Using super or plastic glue attach the legs to the hips (select leg pose)
- Use glue to attach the models feet to the hex or round base.
- Use glue to attach engine to torso.
- Clip or cut the gun grip off and glue to right arm
- Use glue to attach arms to torso one at a time.
- Use glue to attach torso/arms/engine assembly to hips.
- Use glue to attach head to torso.
- Use glue to attach rocket pod
Steps for Peace River & NuCoal Gears:
- Prepare legs and hips, select leg pose and positioning. Then use super glue (or plastic glue) to attach the legs to the hips, while in the desired pose on the base.
- Use glue to attach the models feet to the hex or round base.
- Use glue to attach butt plate to rear of hips.
- Use glue to attach front and side hip armor plates to the legs and hips, and use boxes/ammo clips to fill in any gaps around the hips.
- Use glue to attach antenna(s) to head (in desired pose).
- Use glue to attach engine, head (in desired pose), and torso mounted weapons (like rocket packs) to the torso.
- Use glue to attach torso assembly (in desired pose) to the assembled hips/legs/base.
- Prepare arms assembly, clip or cut off weapon handle and glue to selected hand/arm. Assemble arm parts together in desired poses, checking how they look on model before final gluing of the parts together.
- Use glue to attach arms (in desired pose) to torso one at a time.
- Use glue to attach rear mounted weapons or extra weapons/parts (vibro blades, grenades, etc.) to the model.
Useful Modeling Tools and Supplies
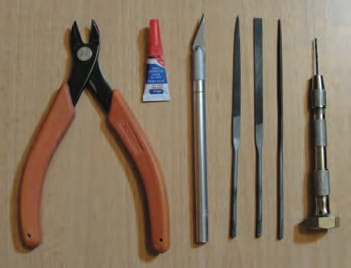
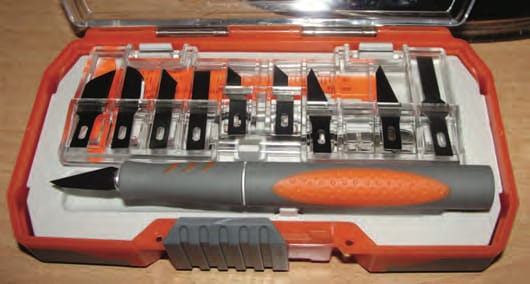
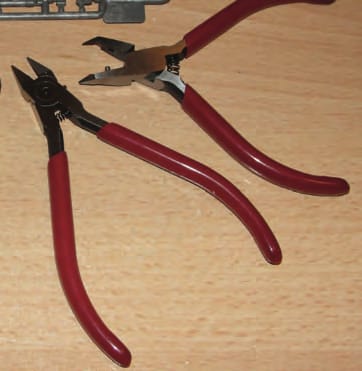
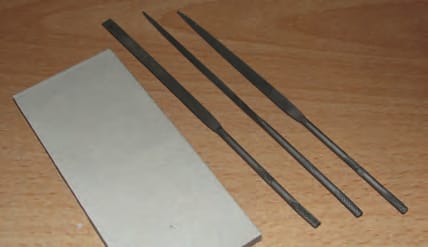
Clippers, Super Glue or Plastic Model Glue, Hobby Knife, Fine Grit Hobby Files or Sandpaper, and Hand Drill with 1/16 bit.
- Hobby Knife with different blades.
- High Quality Flat Sided Clippers
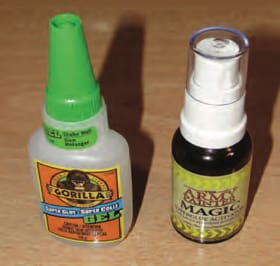
- Gorilla Super Glue Gell: Easy to apply and does not run. Plus some Super Glue Accelerator Spray for when the glue does not want to set fast.
- Very Fine Sandpaper for final surface finishing and a good small file set. “Sanding sticks” are another common sanding tool in use.
Priming and Painting Your Models
Once you have assembled all your models we’ll touch on the basics of priming and painted them. If the plastic models got dirty or oily from your fingers while assembling you should wash them with soapy water and then let them fully dry before priming. It’s important that the plastic surfaces are clean for the primer to get a strong bond to the surface. We have found that fine grey primer works best and is a neutral color when you go to paint up the models in either light or dark color schemes. We have selected a grey paint scheme for the Southern Jagers and a tan paint scheme for the Northern Hunters, with a black wash to get the lowered lining details and a lighter grey or tan to highlight the edges. But, you’re the commander and can decide on any paint scheme you like. We have some painting guides on the DP9 website and will be posting more in the future.
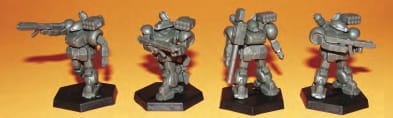
Assembled plastic Jager models (Stock, Command, Striking, and Stock). Forming a Combat Group with GP Squad Primary Unit.
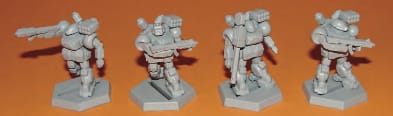
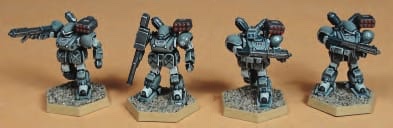
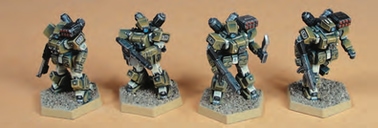
Northern General Purpose (GP) Primary Unit of Hunters (UC, Assault, Stock, and Headhunter) painted in North tan paint scheme.
Our initial Kickstarter release of the Northern, Southern, CEF, & Caprice plastic miniature armies used black colored plastic which was difficult to see details before assembly and priming. Our current plastic miniatures now use grey colored plastic for easy to see details.